Tips for Perfect Acrylic Powder Application
Acrylic nails are a staple in the beauty industry. They offer durability, versatility, and an endless array of design possibilities.
But mastering the art of applying acrylic powder can be a challenge. It requires precision, patience, and a deep understanding of the process.
This guide is designed to help aspiring nail technicians navigate this complex procedure. We'll break down each step, from preparation to application, and provide practical tips for achieving flawless results.
You'll learn about the essential tools and materials, how to choose the right acrylic powder, and the importance of nail preparation. We'll also delve into advanced design techniques and how to avoid common mistakes.
By the end of this guide, you'll have a comprehensive understanding of how to apply acrylic powder. You'll be equipped with the knowledge and skills to confidently create beautiful acrylic nails.
So, let's dive in and start your journey towards mastering acrylic powder application.
Understanding Acrylic Powder and Its Uses
Acrylic powder has become indispensable in nail design. It's admired for its strength and versatility.
This powder, when mixed with a liquid monomer, forms a malleable bead. The bead can be sculpted into any shape.
Once applied and shaped, it hardens quickly. This creates a durable nail extension that can last for weeks.
Acrylics are perfect for those seeking length and elegance. They also offer a fantastic canvas for nail art. Whether it's classic French tips or intricate designs, acrylic powder remains a top choice for nail enhancements.
Essential Tools and Materials for Acrylic Application
To apply acrylic powder effectively, you need the right tools. They ensure precision and quality.
Firstly, consider a good-quality acrylic brush. It's crucial for creating smooth and even applications.
You'll also need a dappen dish for the monomer liquid. It holds the liquid securely during application.
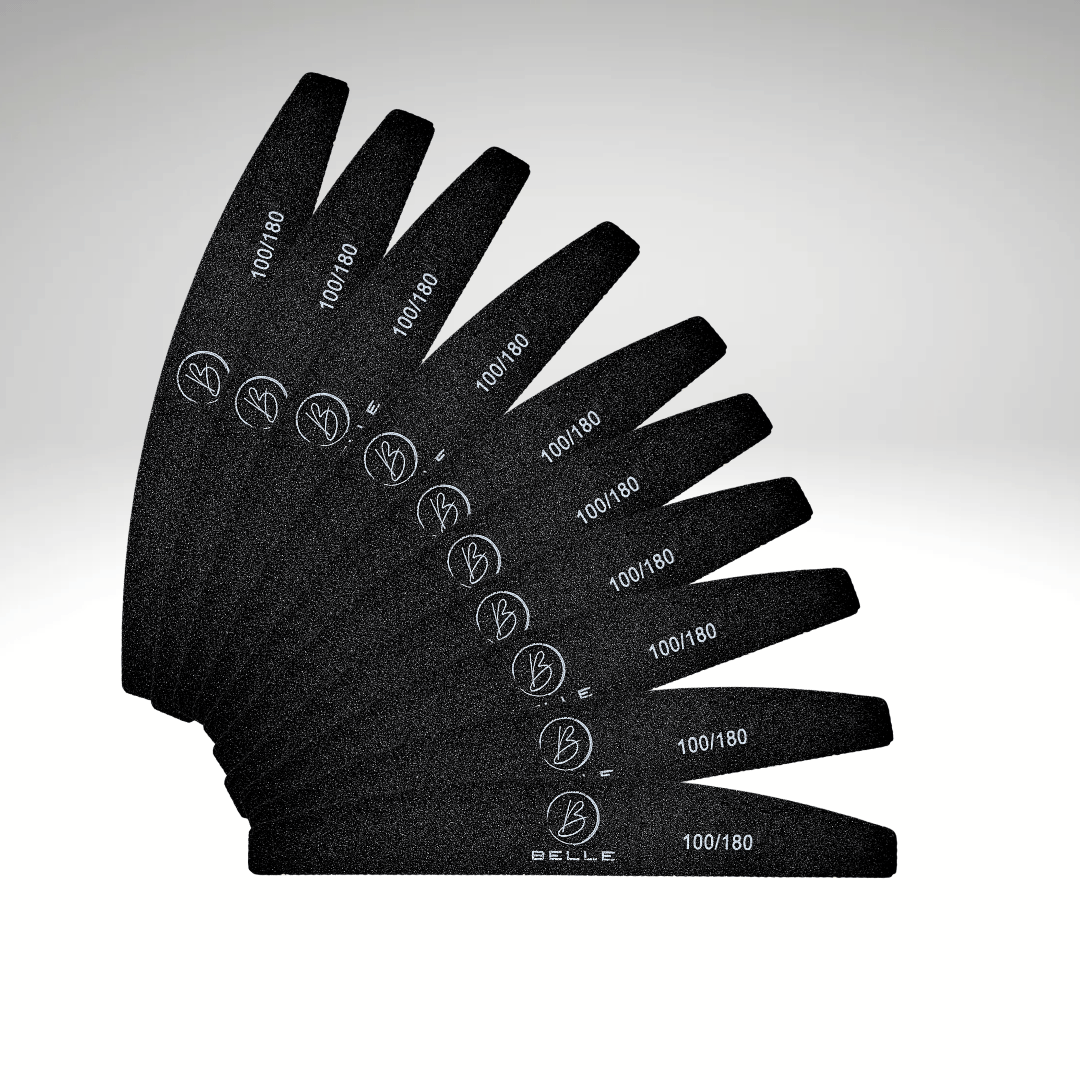
Don't forget the nail file and buffer. These help shape and smooth the acrylic nails once they harden.
Invest in a cuticle pusher to prepare your natural nails. This promotes better adhesion for the acrylic.
Additionally, acetone and cotton pads are vital. They're used for cleaning and removing excess materials.
Essential Tools and Materials Checklist:
Remember, each tool plays a role in the process. Proper tools enable precision and enhance the final result. Ensure your tools are sanitised to maintain a hygienic workspace.
Preparing the Natural Nail
Nail preparation is the foundation of durable acrylic nails. Begin by thoroughly washing your hands and your client’s hands.
Next, carefully inspect the nails for any health issues. Healthy nails provide a strong base for the acrylic.
Trim the natural nails to a suitable length. Ensure that they are uniform and neat before proceeding.
Gently push back the cuticles with a cuticle pusher. This step opens up more of the nail surface for acrylic adherence.
Lightly buff the surface of each nail. Removing the shine allows the acrylic to stick better and last longer.
Finish by cleaning the nail plate with acetone. This degreases the nails, removing any remaining oils for better adhesion. Proper nail preparation prevents lifting and enhances the longevity of the acrylic application. Taking time for this step ensures a professional result and client satisfaction.
Choosing the Right Acrylic Powder
Selecting the right acrylic powder is crucial for achieving desired results. It influences the finish, durability, and design flexibility of the nails.
Consider the colour and translucency of the powder. It should complement the client’s skin tone and desired nail art.
Different powders work best for varying designs. Opt for clear or natural shades for a classic look, or vibrant hues for a creative flair.
Finally, check the powder's consistency and quality. A high-quality powder is fine and blends seamlessly, ensuring a smooth application. The right choice ensures beautiful, long-lasting acrylic nails.
Sanitisation and Safety Measures
Maintaining a clean workspace is essential for every nail technician. This minimises the risk of infections and ensures client safety.
Regularly sanitise all tools before and after each use. This prevents the spread of bacteria and other harmful pathogens.
Ensure that your work area is well-ventilated. This helps reduce the inhalation of potentially harmful fumes from acrylic products.
Always wear protective gear, such as masks and gloves, to safeguard your health. Following these safety measures enhances professionalism and client trust.
Step-by-Step Guide to Applying Acrylic Powder
To start, ensure your tools are ready and sanitised. Organised tools save time and prevent mishaps.
Begin by pushing back cuticles gently. This step prevents lifting and ensures a neat application.
File the nails to achieve a desired shape. A consistent, well-groomed nail bed is essential for acrylic.
Next, lightly buff the surface of the nails. This helps the acrylic adhere better.
Wipe the nails with a lint-free cloth and acetone. This removes dust and oils from the nail plate.
Apply a thin layer of nail primer to each nail. Let it dry completely. This promotes better adhesion.
Create small acrylic beads by dipping your brush into monomer then acrylic powder. The bead should hold its shape.
Place the bead near the cuticle. Using your brush, gently press and spread it evenly to the tip.
Repeat with more beads until the nail is covered. Ensure beads blend seamlessly for a smooth finish.
Allow the acrylic to dry for several minutes. Tap gently on the nail surface to check for dryness.
File the nails again to refine their shape. This step is crucial for achieving the desired look.
Finally, buff the nails until smooth, preparing them for a topcoat or polish. A smooth surface is key for durability.
Nail Primer and Dehydrator Application
Nail primer prepares the nail plate for acrylic. It creates a sticky layer for the product to adhere.
Using a nail dehydrator first ensures oil and moisture are removed. This prevents lifting after the acrylic is applied.
Apply the dehydrator with a clean brush. Ensure even coverage on the entire nail surface.
Once dry, brush on a thin layer of primer. Avoid skin contact to prevent irritation.
Mixing Acrylic Powder with Monomer
Proper mixing of acrylic powder and monomer is vital. Achieving the right consistency ensures smooth application.
Dip the brush first into the monomer. Ensure that it is evenly saturated before proceeding.
Next, lightly dip the brush into the acrylic powder. The powder should create a bead at the brush's tip.
The bead should be smooth, not too wet or dry. Adjust the proportion of monomer and powder as necessary.
Applying the Acrylic Bead and Shaping
Place the acrylic bead near the cuticle. Carefully press and smooth it in the direction of the tip.
Use the brush to pat and mould the acrylic into shape. Light strokes help spread the product evenly.
Work quickly but with precision. Acrylic begins to set once applied, so minimise delays.
Repeat adding beads where necessary. Ensure each bead blends seamlessly into the others.
Regularly check from different angles. This ensures uniformity and smoothness across the nail.
Finish by perfecting the shape with light brush strokes. Once set, refine with a file for an impeccable look.
Filing, Buffing, and Polishing
Once the acrylic has set, it's time to refine the nails' shape. Use a coarse file to shape the edges and tips.
Focus on the sides and free edge. Achieve a consistent and clean silhouette for each nail.
Switch to a finer file for smoothing the surface. Even out any unevenness or lumps from the acrylic application.
Buff the nails gently to prepare them for polishing. A smooth base ensures the polish adheres perfectly.
Finally, polish with a buffer for a glossy finish. This step enhances the nail's shine and overall appearance.
By paying attention to these details, you ensure the nails not only look great but are also comfortable for the wearer.
Advanced Design Techniques with Acrylic Powder
Creating stunning nail art with acrylic powder allows for endless creativity. Start by experimenting with different textures and finishes.
Try the ombré technique for a seamless gradient effect. Blend multiple acrylic powders for a soft transition between colours.
Consider using glitter acrylic powders for added sparkle. They can elevate any design with a touch of glamour.
Intricate designs, like marble effects, challenge your precision. Practice with a dotting tool to achieve these artistic looks.
Advanced designs require patience and practice. Don't hesitate to try new combinations and refine your skills as you grow.
Avoiding and Fixing Common Mistakes
Common mistakes in acrylic application can hinder results. One frequent issue is improper bead consistency.
To avoid this, consistently practice mixing powder and monomer. Achieving the right consistency enhances control during application.
Another error involves incorrect nail form placement. Ensure forms fit snugly against natural nails for seamless extensions.
If lifting occurs, revisit nail prep steps. Always dehydrate the nail plate thoroughly for better adhesion.
Mistakes are part of learning. Take notes on errors to improve skills and build confidence with each application.
Aftercare and Maintenance of Acrylic Nails
Proper aftercare ensures the longevity of acrylic nails. Advise clients to avoid using nails as tools. This reduces the risk of breakage and lifting.
Regular moisturising is key. Recommend a nourishing cuticle oil to keep skin and nails hydrated. This also enhances the appearance of the nails.
Clients should schedule regular fill-ins every 2-3 weeks. This maintains the structure and prevents gaps between the natural nail and acrylic.
Encourage clients to wear gloves when using harsh chemicals. This protects both the acrylic and the natural nail underneath, ensuring prolonged durability.
Continuous Education and Staying Updated with Trends
The nail industry is ever-evolving, with trends changing rapidly. Staying updated with these trends is vital for any nail technician.
Continuous education helps sharpen skills and introduces new techniques. Online workshops and courses are excellent resources for learning new nail art designs.
Attending trade shows offers exposure to the latest products and methods. Networking with other professionals can also provide valuable insights into industry advancements.
Regularly updating a portfolio with current styles can attract new clients. Showcasing versatility in nail designs ensures relevance and keeps clients engaged.


