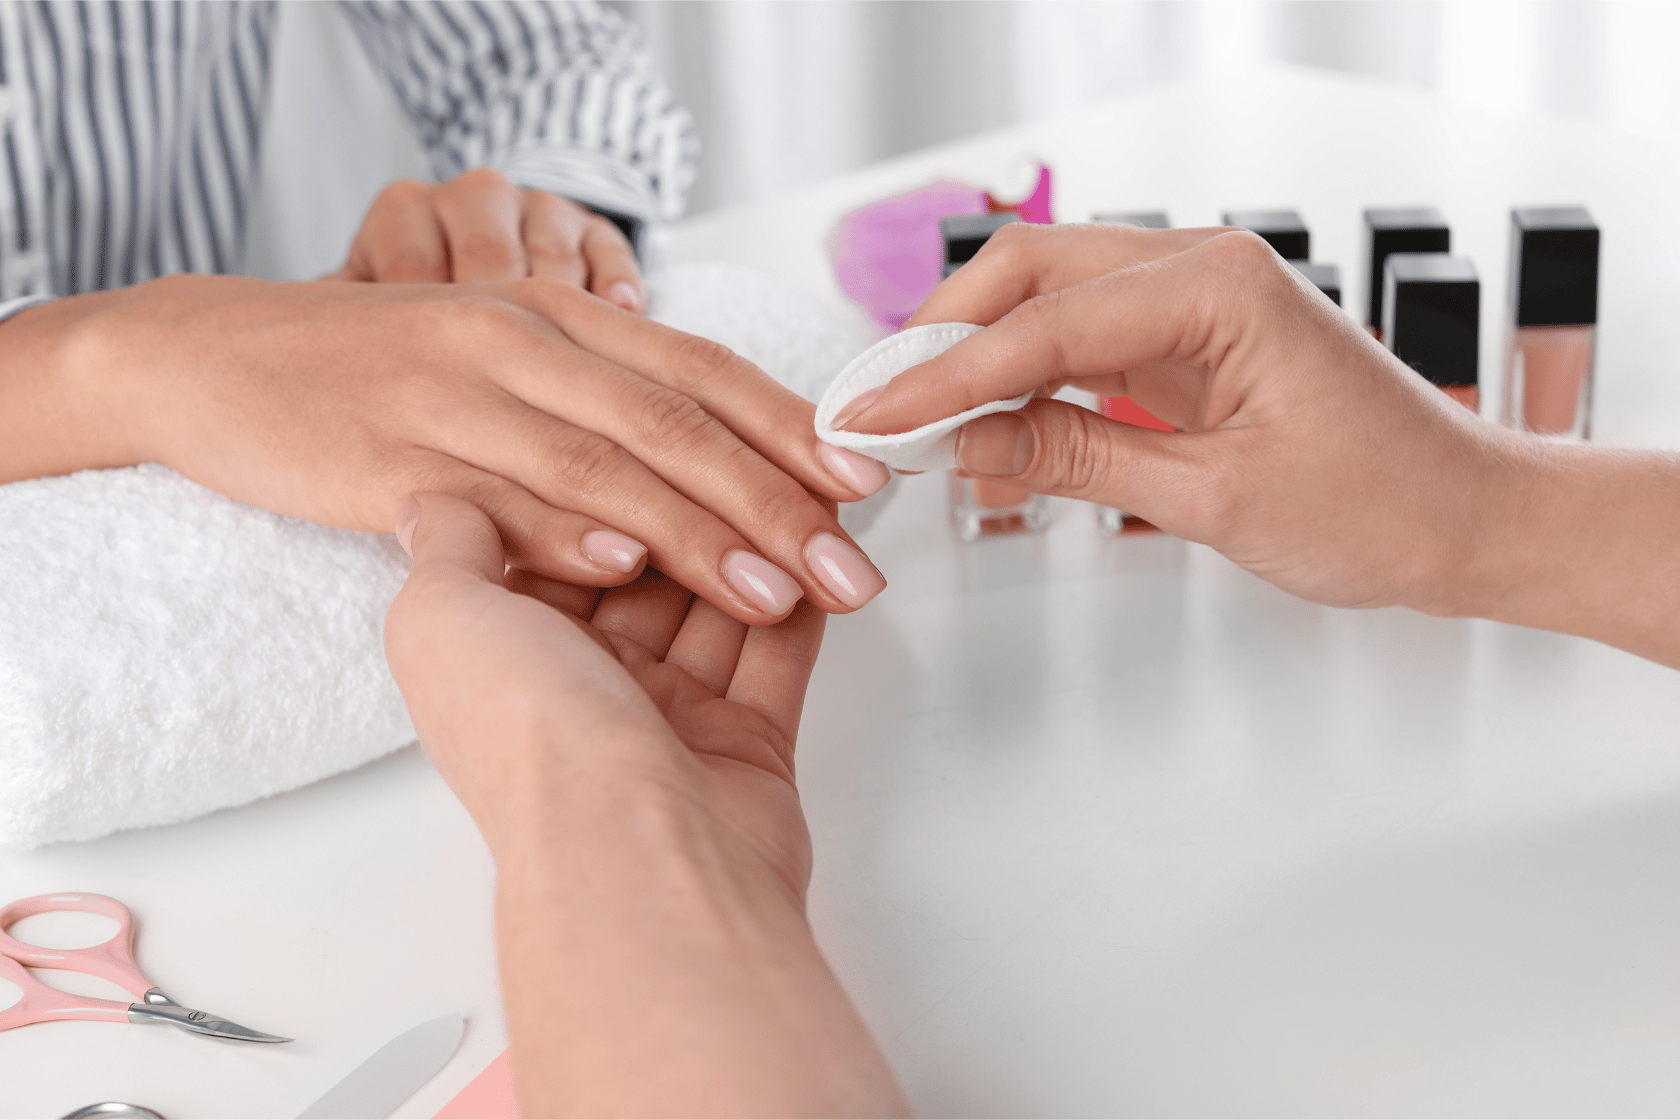
Gel nail polish has become increasingly popular in recent years due to its long-lasting and durable nature. However, when it comes time to remove it, many people struggle with the process.
In this article, we will discuss the best methods for removing gel nail polish and provide tips for a successful removal process.

Why is it Important to Remove Gel Nail Polish Properly?
Before we dive into the best methods for removing gel nail polish, let's first understand why it's important to remove it properly.
Prevents Damage to Your Nails
Improper removal of gel nail polish can cause damage to your natural nails. This can include peeling, splitting, and weakening of the nail bed. It's important to follow the correct removal process to avoid any potential damage.
Allows for Proper Nail Care
Removing gel nail polish also allows for proper nail care. This includes trimming and shaping your nails. Proper nail care is essential for maintaining healthy and strong nails.
Prepares for a New Manicure
Removing gel nail polish is necessary if you want to apply a new manicure. If you don't remove the old polish properly, the new polish may not adhere correctly, resulting in a shorter lifespan for your new manicure.
What You Will Need
Before we get into the removal process, let's go over the tools and materials you will need:
- Acetone or gel polish remover
- Cotton balls or pads
- Aluminum foil
- Nail file
- Cuticle pusher
- Nail buffer
- Moisturiser or cuticle oil
The Best Methods for Removing Gel Nail Polish
There are a few different methods for removing gel nail polish, each with its own pros and cons. We will go over the most popular methods and provide tips for success.
Method 1: Using Acetone
Acetone is a common ingredient in many nail polish removers and is also used in gel polish removers. Here's how to use it to remove your gel nail polish:
- Begin by filing the top layer of your gel polish with a nail file. This will help the acetone penetrate the polish and make the removal process easier.
- Soak a cotton ball or pad in acetone and place it on top of your nail.
- Wrap your nail in aluminium foil to keep the cotton ball in place.
- Repeat this process for all of your nails.
- Let the acetone soak for 10-15 minutes.
- After the time has passed, remove the foil and cotton balls and gently push off the gel polish with a cuticle pusher.
- If there is still some polish left, repeat the process until it is completely removed.
- Once all the polish is removed, use a nail buffer to smooth out any rough spots on your nails.
- Finish by moisturising your nails and cuticles with a moisturiser or cuticle oil.
Tips for Success
- Use pure acetone for the best results. Acetone-free removers may not be strong enough to remove gel polish.
- Be patient and let the acetone soak for the recommended time. This will make the removal process much easier.
- If you have sensitive skin, you can apply a layer of petroleum jelly around your nails to protect your skin from the acetone.
- If you have any cuts or open wounds on your hands, avoid using acetone as it can cause irritation and discomfort.
Method 2: Using Gel Polish Remover
Gel polish removers are specifically designed to remove gel nail polish and are often gentler on the nails than pure acetone. Here's how to use it:
- Begin by filing the top layer of your gel polish with a nail file.
- Apply the gel polish remover to a cotton ball or pad.
- Place the cotton ball on top of your nail and wrap it in aluminium foil.
- Repeat this process for all of your nails.
- Let the remover soak for the recommended time (usually 10-15 minutes).
- After the time has passed, remove the foil and cotton balls and gently push off the gel polish with a cuticle pusher.
- If there is still some polish left, repeat the process until it is completely removed.
- Once all the polish is removed, use a nail buffer to smooth out any rough spots on your nails.
- Finish by moisturising your nails and cuticles with a moisturiser or cuticle oil.
Tips for Success
- Follow the instructions on the gel polish remover for the best results.
- If you have sensitive skin, look for a gel polish remover that is acetone-free.
- If you have any cuts or open wounds on your hands, avoid using gel polish remover as it can cause irritation and discomfort.
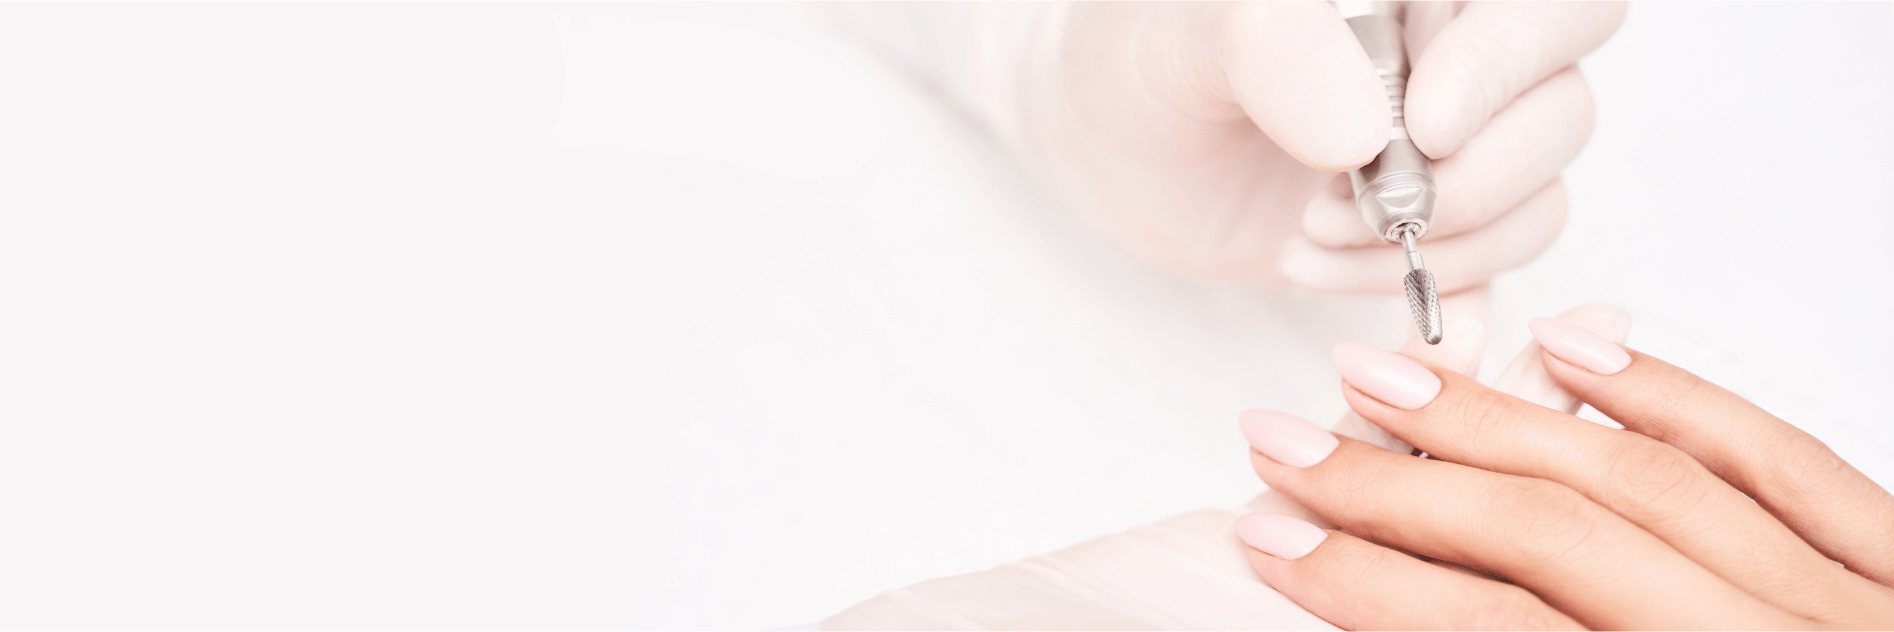
Method 3: Using a Nail Drill

Using a nail drill is a popular method for removing gel nail polish, especially for those who have a lot of gel polish to remove. Here's how to use it:
- Begin by filing the top layer of your gel polish with a nail file.
- Attach a fine-grit drill bit to your nail drill.
- Gently buff away the top layer of the gel polish with the drill bit.
- Be careful not to apply too much pressure or drill too deeply, as this can damage your natural nails.
- Once the top layer is removed, switch to a medium-grit drill bit and continue buffing until all the polish is removed.
- Finish by using a nail buffer to smooth out any rough spots on your nails.
- Moisturise your nails and cuticles with a moisturiser or cuticle oil.
Tips for Success
- Use a fine-grit drill bit to avoid damaging your natural nails.
- Be gentle and take your time to avoid damaging your nails.
- If you are not experienced with using a nail drill, it's best to stick to the other methods mentioned above.
Aftercare Tips
After removing your gel nail polish, it's important to take care of your nails to prevent any damage or irritation. Here are some tips for aftercare:
- Moisturise your nails and cuticles regularly to keep them healthy and hydrated.
- Avoid using harsh chemicals on your nails for at least a week after removing gel polish.
- Give your nails a break from gel polish for a few weeks to allow them to recover.
- If you notice any damage or irritation, consult a professional for advice.
Conclusion
Removing gel nail polish doesn't have to be a daunting task. By following the methods and tips mentioned in this article, you can easily remove your gel polish without causing any damage to your natural nails. Remember to take care of your nails after removal to keep them healthy and strong. Happy polishing!


